You pay good money for your ads on Facebook, Instagram and Pinterest! So don’t let all that valuable traffic get lumped into your Google Analytics reports with your other visitors from social media, in the general “Social” Channel.
It’s important to clearly separate social media traffic you’ve paid for (advertising) and organic traffic (from your own and others’ posts). Learn how to use the Channel called “Paid Social” that will automagically capture all our social ad visitors, where they can be analyzed separately.
Quick Answer: Google Analytics 4 now comes with a Paid Social Channel built in. You can start using it right away by simply tagging your ad destination links with the Medium value of paid-social and a Source of the social platform’s domain (eg. instagram.com).
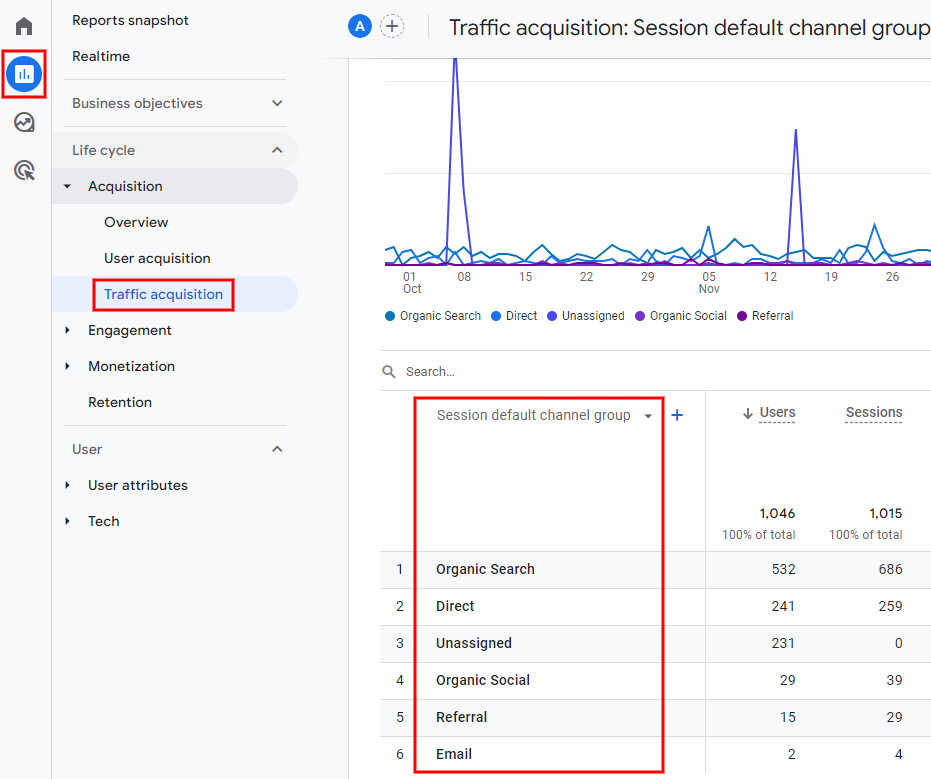
What’s a Channel?
Channels are the biggest “traffic buckets” in your Acquisition reports. They group your traffic from lots of different places that have a similar purpose. For example, traffic from Google searches and searches on Etsy should both be in the “Organic Search” channel.
Some of the other default Channels include Email, Display (advertising) and Social. Very broad! (Read more about the Google Analytics 4 default Channels here.)
How do Channels work?
Google Analytics uses other information about each session (usually its Medium) to decide which Channel bucket to put it into. The rules it follows are called the “Definition” of the Channel.
For example, the rule for the Email Channel is:
If Medium or Source exactly matches "e_mail" or "e mail"
There are a few options in case people spell it “email” or “e-mail” etc. but overall, it’s a pretty simple rule.
Some other rules are more complicated (especially if you’ve customized your Definitions for Etsy), but they still work the same: if a session meets the rules, it goes in the Channel.
The Paid Social Channel in Google Analytics 4
Google Analytics 4 has a “Paid Social” channel built-in. All you need to do is understand the rules and make sure your social ads are setup to put their traffic into this channel.
The Paid Social Channel Definition
Traffic will appear in the Paid Social channel if it matches one of these scenarios:
- You run the ad through Google Ads and it appears on a social media platform.
- You run the ad through Search Ads 360 and it appears on Facebook or Twitter.
- The Source matches a list of social media sites that Google knows about (i.e. more than you’re probably aware of!) AND the Medium either:
- Has the letters “
cp” together (eg. “cpc” or “cpm”) - Matches “`
ppc” or “retargeting“ - Starts with “
paid” (eg. just “paid” or “paid-social” or “paid_ad” etc)
Google handles the tracking for Google Ads and Search Ads 360 automatically. Most of your social media ads will not be run through Google and you’ll need to setup the tracking yourself when you configure the ad.
Here’s how…
Send your ad traffic to Paid Social
For your social ad visits to appear in the Paid Social Channel, you need to control what Source and Medium Google Analytics is given.
The Source should be the domain of the social media platform, like “instagram.com” or “pinterest.com“.
The Medium should match the rules in the definition above. I recommend using the same Medium in all your ads and going with something human-readable like “paid-social“.
You’ll also set a Campaign name to help you distinguish different ads or sets of ads.
You set the Source, Medium and Campaign using Campaign Tags on the destination URLs for your ads.
Introduction to Campaign Tagging for social media ads
Campaign Tags (or “UTM” tags”) are extra bits you add to the end of a link that you’re using in your marketing. When someone clicks on the link and your website opens, Google Analytics recognises the tags automatically and uses them to record what drove that visit.
Here’s how they look:
https://www.artisananalytics.com.au?utm_source=facebook.com&utm_medium=paid-social&utm_campaign=End+Of+Year+Promo
See the question mark after my domain? That’s where the campaign tags start. Everything to the left is the normal URL to my home page. Everything to the right tells Google Analytics about how that visitor arrived at my website. (It doesn’t affect how the link works for visitors or how my shop looks.)
It breaks down like this:
- ?utm_source =
facebook.com - &utm_medium =
paid-social - &utm_campaign =
End+Of+Year+Promo
After you’ve put these tags at the end of your destination URL (eg. your shop home page or a particular product listing), this is what you’ll paste into your ad manager.
Facebook’s Ads Manager (which you use for running both Facebook and Instagram ads) has a handy URL Dynamic Parameters feature that lets you apply the Campaign and Ad names to your tags, automatically! Learn where to find this field in Ads Manager.
Pinterest Ads also lets you set dynamic url parameters to the end of your destination link.
Learn more about how to use and manage Campaign Tags (on ads and more!)

UTM Campaign tags: marketing pixie dust that you control!
If you’ve hung around here for a while, you’ll have heard a little about UTM Campaign Tags. They are the magic ingredient for making sure that visits from Instagram, Pinterest and anywhere else show up in your Google Analytics reports correctly. Why doesn’t this happen right in the first place?? To know where a visitor came from,…